V-Server Setup
This page documents how I configured my very first cloud server instance in the Developer Akademie DevSecOps Course.
It describes the steps taken after the first login to a new Ubuntu server to set up secure SSH authentication, a basic web server configuration, and GitHub access via SSH.
TOC
Github Tip
1. Server access via SSH key (instead of password login)
1.1 Check or create the SSH key on the local system, i.e. your Windows host
ssh-keygen -t ed25519 -C "USER@LOCALHOST"
1.1.1 The key is stored by default under, (i.e. under Windows C:\Users\USERNAME.ssh)
~/.ssh/vserver_id_ed25519        (private key)
~/.ssh/vserver_id_ed25519.pub    (public key)
1.2 Copy the public key to the server
ssh-copy-id -i ~/.ssh/your_key.pub USER@SERVER-IP-ADDRESS
1.2.1 Example
ssh-copy-id -i ~/.ssh/vserver_ed25519.pub firstname-lastname@12.34.56.789
1.3 Test login
ssh -i ~/.ssh/vserver_ed25519 USER@SERVER-IP-ADDRESS
1.4 Deactivate password login on the server, to do this open the file containing the sshd configuration
sudo nano /etc/ssh/sshd_config
1.4.1 Please make sure that following values are set
PasswordAuthentication no
PubkeyAuthentication yes
PermitRootLogin no
1.4.2 Restart SSH service
sudo systemctl restart ssh
2. Nginx Installation and Basic Configuration
2.1 Installation
sudo apt update
sudo apt install nginx -y
2.2 Check if default site is reachable
http://YOUR-SERVER-IP-ADDRESS/
2.3 Alternative site on port 8081, create directory and index.html
sudo mkdir /var/www/alternatives
sudo nano /var/www/alternatives/alternate-index.html
2.3.1 Example configuration
<!DOCTYPE html>
<html>
<head>
    <meta charset="utf-8">
    <title>Hello, Nginx!</title>
</head>
<body>
    <h1>Hello, Nginx!</h1>
    <p>I have just configured our Nginx web server on Ubuntu Server!</p>
</body>
</html>
2.4 Open nginx configuration file
sudo nano /etc/nginx/sites-enabled/alternatives
2.5 Configure nginx server block
server {
    listen 8081;
    listen [::]:8081;

    root /var/www/alternatives;
    index alternate-index.html;

    location / {
        try_files $uri $uri/ =404;
    }
}
2.6 Restart nginx
sudo systemctl restart nginx
2.7 Check nginx status, it should be active and running and look like this
➜  ~ sudo systemctl status nginx
● nginx.service - A high performance web server and a reverse proxy server
     Loaded: loaded (/usr/lib/systemd/system/nginx.service; enabled; preset: enabled)
     Active: active (running) since Fri 2025-10-31 23:37:02 CET; 1 day 14h ago
       Docs: man:nginx(8)
    Process: 9547 ExecReload=/usr/sbin/nginx -g daemon on; master_process on; -s reload (code=exited, status=0/SUCCESS)
   Main PID: 6468 (nginx)
      Tasks: 3 (limit: 4538)
     Memory: 4.6M (peak: 6.7M)
        CPU: 3.166s
     CGroup: /system.slice/nginx.service
             ├─6468 "nginx: master process /usr/sbin/nginx -g daemon on; master_process on;"
             ├─9549 "nginx: worker process"
             └─9550 "nginx: worker process"
2.8 Check if the alternative site is reachable
http://YOUR-SERVER-IP-ADDRESS:8081/
3. Activate https by installing Let's Encrypt / Certbot (optional)
sudo apt install certbot python3-certbot-nginx -y
sudo certbot --nginx -d subdomain.your-website.tld
3.1 Check renewal of generated certificate
sudo certbot renew --dry-run
4. Setting up ssh access to GitHub on your server
4.1 Generate ssh key for GitHub
ssh-keygen -t ed25519 -C "your_github_mail_address@domain.com"
4.2 Show public key
cat ~/.ssh/github.pub
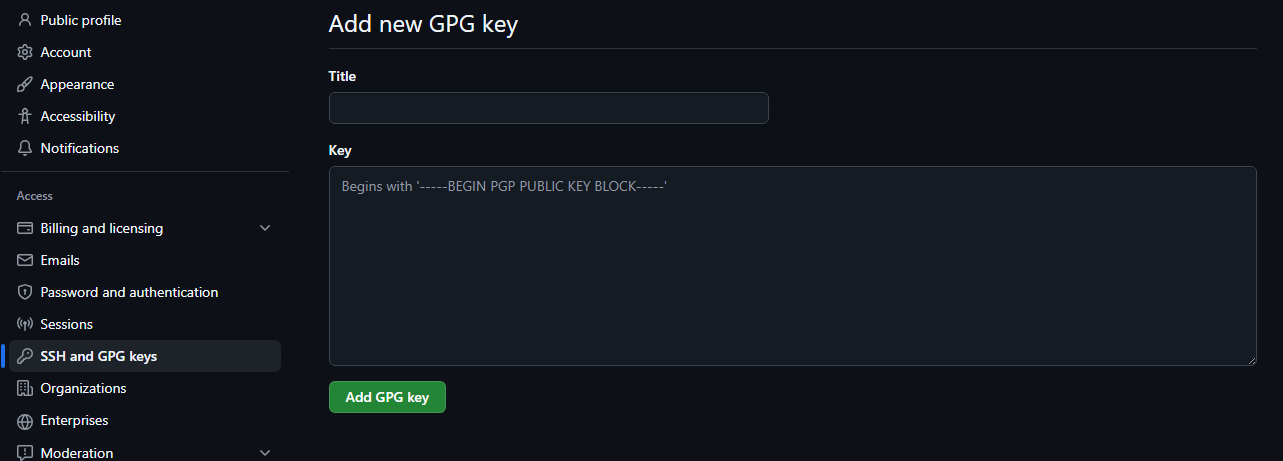
4.3 Copy public key to github
GitHub → Settings → SSH and GPG keys → New SSH key
4.4 Configure ssh on your server with your new key
sudo nano ~/.ssh/config
4.4.1 Example configuration, please adjust if necessary
Host github.com
    HostName github.com
    User git
    IdentityFile ~/.ssh/github
4.5 Check connection
ssh -T git@github.com
4.5.1 Check successful output
Hi <GitHub-Username>! You've successfully authenticated, but GitHub does not provide shell access.
🎉 Congratulations!
Your server is now securely configured and ready for use.
You’re all set for deploying projects, managing code via GitHub, and continuing your DevSecOps journey. Great job!